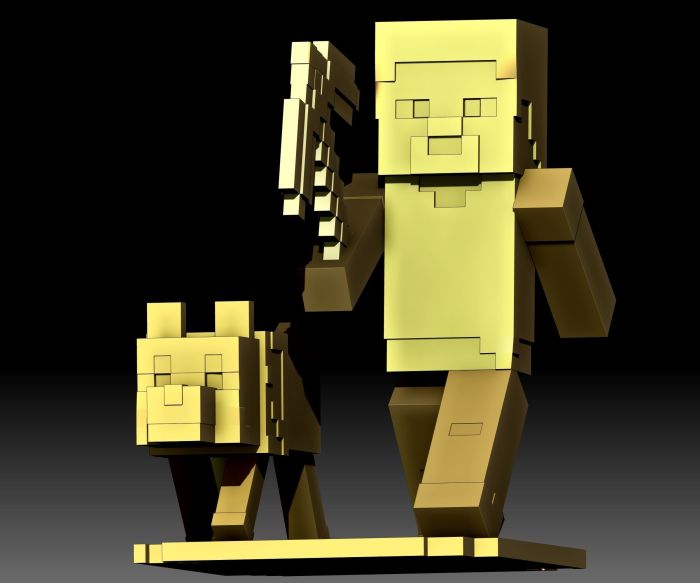
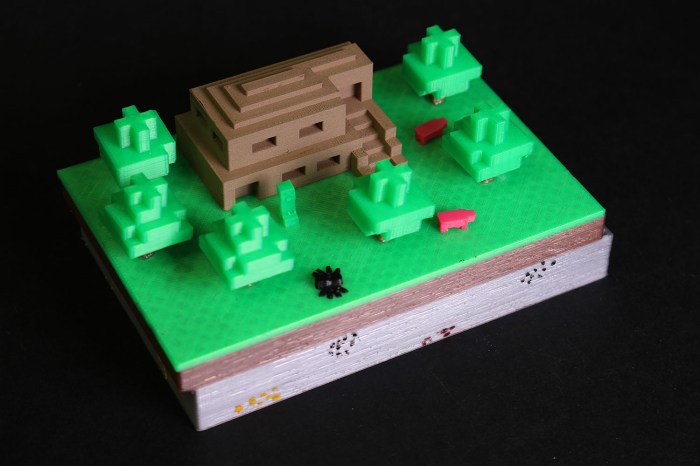
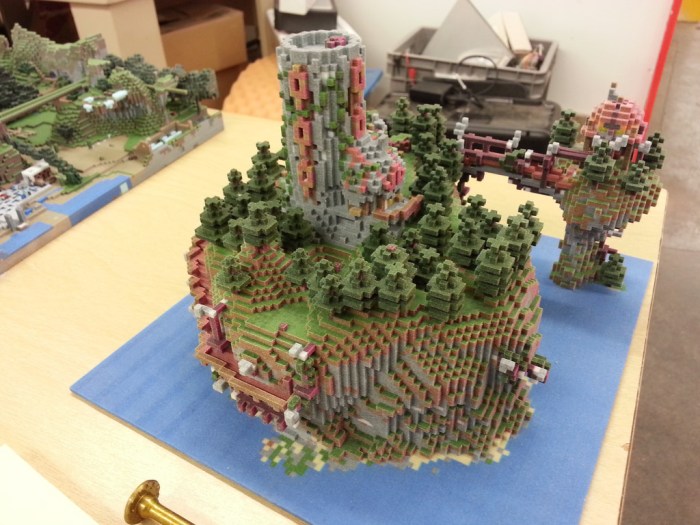
Creating and Printing 3D Minecraft Models: A Step-by-Step Guide – Ever dreamed of holding your favorite Minecraft creations in your hands? Now you can! This guide takes you on a journey from pixelated dreams to tangible reality, showing you how to create and print your own 3D Minecraft models. Get ready to transform your digital creations into physical masterpieces, bringing your Minecraft world to life in a whole new way.
From choosing the right software to mastering the art of 3D printing, we’ll cover everything you need to know. We’ll guide you through the process of designing your models, preparing them for printing, and even adding finishing touches. By the end, you’ll be equipped to create and print your own unique Minecraft creations, whether it’s a detailed mob, a stunning building, or even a custom weapon.
Introduction to 3D Minecraft Models

3D Minecraft models are digital representations of objects, characters, and structures that can be created and imported into the Minecraft game. These models add a whole new dimension to the game, allowing players to create custom content, personalize their worlds, and even build impressive structures that would be impossible to achieve with the game’s default blocks.
Popular 3D Minecraft models include everything from realistic animal models to intricate buildings and even custom weapons and tools. The possibilities are endless, limited only by the imagination of the creator.
Creating and printing 3D Minecraft models offers several benefits, including:
- Enhanced Creativity:3D modeling allows you to express your creativity in a whole new way, bringing your Minecraft ideas to life.
- Unique Customization:3D models let you personalize your Minecraft world with custom objects, characters, and structures.
- Interactive Play:3D printed models can be incorporated into your Minecraft game, adding a tangible element to your virtual world.
- Learning Opportunity:3D modeling and printing offer a hands-on learning experience in design, technology, and craftsmanship.
Choosing a Modeling Software
The first step in creating a 3D Minecraft model is selecting the right software. Several powerful 3D modeling programs are available, each with its own strengths and weaknesses.
- Blender:A free and open-source software known for its versatility and powerful features. It’s a great choice for beginners and experienced modelers alike.
- Maya:A professional-grade software widely used in the film and gaming industries. While it has a steeper learning curve, Maya offers advanced tools for creating high-quality models.
- 3ds Max:Another industry-standard software known for its intuitive interface and powerful rendering capabilities. It’s a great choice for creating detailed and realistic models.
- Minecraft: Bedrock Edition:The Minecraft Bedrock Edition itself offers a built-in modeling tool called “Model Creator.” This tool is relatively simple and user-friendly, perfect for creating basic models within the game.
When choosing software, consider your skill level, project complexity, and budget. If you’re a beginner, start with Blender or Minecraft’s Model Creator. For more advanced projects, consider Maya or 3ds Max.
Designing Your Minecraft Model
Once you’ve chosen your modeling software, it’s time to start designing your model. Here are some tips for creating realistic and detailed Minecraft models:
- Start with a Sketch:Begin by sketching out your model on paper to visualize its shape and form.
- Use Minecraft Textures:Utilize the textures from the Minecraft game to create a cohesive and authentic look for your model.
- Pay Attention to Detail:Add small details to your model, such as textures, patterns, and small elements, to make it more realistic.
- Import Minecraft Assets:You can import existing Minecraft assets, like blocks and textures, into your modeling software to use as references or even directly incorporate them into your model.
Remember, practice makes perfect. Experiment with different techniques and tools to find what works best for you.
Preparing for 3D Printing
Before you can print your model, you need to prepare it for the 3D printing process. This involves several steps to ensure a successful and high-quality print.
- Optimize for 3D Printing:Make sure your model is optimized for 3D printing by checking for any issues like thin walls, sharp edges, or overlapping geometry.
- Scale and Orient:Scale your model to the desired size and orient it correctly on the printing platform. This will ensure a proper fit and prevent the model from falling over during printing.
- Generate Supports:Depending on the model’s geometry, you may need to generate support structures to prevent overhangs and sagging during printing.
By following these steps, you can minimize errors and ensure a high-quality print.
3D Printing Your Model
Now that your model is ready, it’s time to print it! The 3D printing process involves several steps, from selecting the right material to setting the printing parameters.
- Choose a 3D Printer:There are many different types of 3D printers available, each with its own capabilities and price range. Choose a printer that suits your needs and budget.
- Select the Material:Various materials can be used for 3D printing, including plastic, resin, metal, and even wood. Choose a material that matches the desired look and feel of your model.
- Set Printing Parameters:The printing parameters, such as layer height, infill density, and printing speed, affect the print quality and time. Adjust these parameters to achieve the desired results.
Troubleshooting is an essential part of 3D printing. Common issues include filament jams, print failures, and uneven surfaces. By understanding the causes and solutions to these problems, you can improve your printing success rate.
Post-Processing and Finishing

Once your model is printed, it’s time for post-processing and finishing. This involves cleaning, sanding, and painting the model to achieve a professional finish.
- Cleaning:Remove any excess support material and clean the model with water, alcohol, or a specialized cleaning solution.
- Sanding:Smooth out any rough edges or imperfections using sandpaper or a sanding tool.
- Painting:Apply paint to your model to enhance its appearance and add details. Use acrylic paints, spray paints, or even specialized 3D printing paints.
With a little effort, you can transform your 3D printed model into a beautiful and eye-catching creation.
Incorporating Your Model into Minecraft
The final step is to incorporate your 3D printed model into the Minecraft game. This process involves importing the model and placing it in the game world.
- Import the Model:Depending on your Minecraft version and the software you used to create the model, there may be different methods for importing it into the game. Some tools allow you to directly import models, while others require conversion to a specific format.
- Place the Model:Once imported, you can place the model in your Minecraft world using the game’s placement tools. Experiment with different positions and orientations to find the perfect spot for your creation.
With your 3D printed model in the game, you can use it in various ways, including:
- Creative Builds:Use your model as a centerpiece for your creative builds, adding a unique touch to your structures.
- Game Scenarios:Incorporate your model into custom game scenarios, using it as a prop, obstacle, or even a playable character.
Let your imagination run wild and create exciting and immersive experiences with your 3D printed Minecraft models.
Advanced Techniques: Creating And Printing 3D Minecraft Models: A Step-by-Step Guide

For those seeking to push the boundaries of 3D Minecraft modeling, advanced techniques like animation and rigging can be explored. These techniques allow you to create interactive and dynamic models that bring your creations to life.
- Animation:Create animated models that move, dance, or even perform actions within the Minecraft world.
- Rigging:Give your models a skeletal structure, allowing for more realistic movement and control over their limbs and joints.
Beyond models, 3D printing can be used to create custom Minecraft accessories and props. Imagine creating a physical controller for your Minecraft world or printing custom tools and weapons that you can hold in your hand.
The possibilities are endless, and the world of 3D Minecraft modeling is constantly evolving. Explore these advanced techniques and discover new ways to create and interact with your favorite game.
Conclusion
So, are you ready to take your Minecraft passion to the next level? With a little creativity, some digital know-how, and a 3D printer, you can turn your virtual world into a tangible one. Go ahead, unleash your inner builder, and let your imagination run wild.
The possibilities are truly endless when you combine the magic of Minecraft with the power of 3D printing!
Questions Often Asked
What kind of 3D printer do I need to print Minecraft models?
You can use a variety of 3D printers for Minecraft models, but FDM (Fused Deposition Modeling) printers are a popular choice due to their affordability and accessibility. Look for a printer with a good print resolution and a build volume large enough for your models.
Can I print Minecraft models in color?
Yes! You can use colored filament or paint your models after printing. Some 3D printers even offer multi-color printing capabilities.
What are some good resources for finding 3D Minecraft models to print?
You can find a wide variety of 3D Minecraft models online on platforms like Thingiverse, Cults3D, and MyMiniFactory. You can also search for specific models on websites like Etsy or Shapeways.